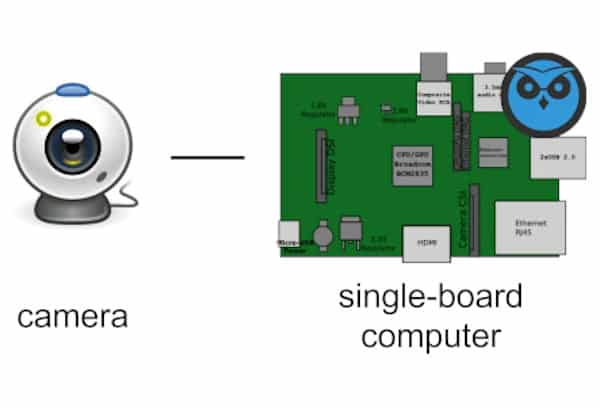
Internet of Things (IoT) is making a huge step and is more and more easy to use for everyday cases. It has explosively grown where devices are connected and controlled by the internet. With the come of affordable (actually pretty cheap) mini-computers, like Raspberry Pi and Arduino, the power of computing and digital making has come into the hands of people all over the world. So logically, it is also very interesting for a zoo setting. I will talk in this article about the possibility to convert a Raspberry Pi to a standalone camera and how you can use it to make a network camera system.
But why observe animals using cameras?
The captive animals we take care of living in an enclosed space for 24/7. As a caretaker, you don’t see the animal continuously, and therefore it is not always known what animals do the rest of the day. With cameras, you get an insight into the complete life of an animal. It can be useful to see what the behaviour and activity budget is of an animal, their food consumption, their sleeping behaviour, and much more. But one profound benefit of using cameras is as follow — the presence of a caretaker affect the behaviour of the animal. With other words, when we are observing the animal, we often influence the behaviour performed by the animal. However, you may think: how can I ever build a camera by myself without any programming knowledge or when I never touched a Raspberry Pi. Well, I can ensure you that it is much easier than it sounds.

Raspberry Pi and MotionEyeOS
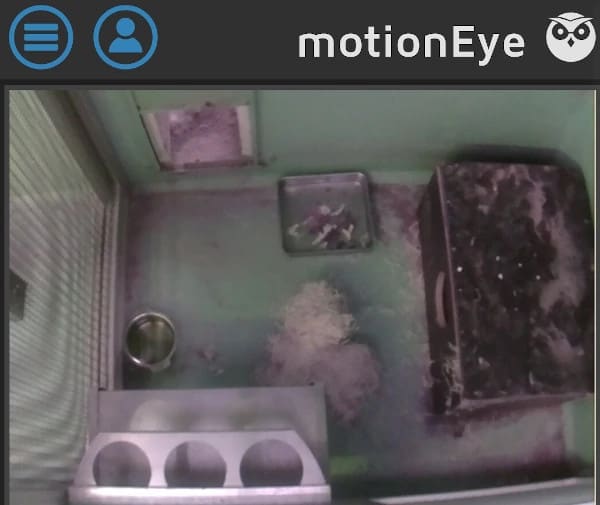
For this project, we will use a Raspberry Pi for every camera we build. The new generation Raspberry Pi’s (3B(+) and 4) have pretty good specifications and calculation power (= processor and RAM). And when a camera is making video recording, this sure comes in handy. Next to that this computer board is still pretty cheap, with price starting from $35 / €40. As a software layer, we use MotionEyeOS designed to convert your Raspberry Pi in a (security) camera. MotionEyeOS is a free software operating system with an easy-to-use, web-based and mobile-friendly user interface to adjust camera settings. With MotionEyeOS, you can set motion detection, timelapse movies, watch live streams in any web browser and make the camera available to your local network.
Build A Raspberry Camera
To build a Raspberry camera, we need some more hardware components. This is a list of the major things we need:
Hardware requirements:
- Raspberry Pi (model 3B, 3B+ or 4): This is the larger model of Raspberry Pi’s which has more calculation power. Cost: around $35/€40
- Raspberry Pi Camera Module: This camera module is specifically built for the Pi micro-computer and can be directly plugged into the Raspberry Pi. Cost: around $30/€30. When you want a night vision camera, you can also use the Raspberry Pi Night Vision Camera (cost: around $ 20/€30, so it is even cheaper than a standard camera)
- [optional] A Camera Housing: Good housing can be beneficial to protect your system. There are prefab camera housings for around $25/€25. Another option is to build the camera housing yourself.
- Power Supply: A power supply is needed to make it work. Cost: around $10/€10. Be aware of getting the correct power supply; otherwise, there is a possibility that it will destroy your Raspberry Pi board. I advise getting the original Raspberry power supply.
- Micro SD-card: Because you save your video material on the board itself, it is advisable to get a Class 10 SD-card with at least a size of 64GB, but preferable 128GB. Cost: around $20/€22.
The total cost of this project for every camera you build and install is around $110/€130 (without shipping costs). This is much cheaper than a comparable camera system with the same functionality and this system can be expanded easily.
Build the camera:
Now that we have all the hardware requirements, we can build the camera. First, connect the camera module to the raspberry pi. When you use a housing, first build this and install the raspberry pi and camera module in it. The second step is to download the MotionEyeOS operating system. Always choose the latest full release. You need to copy this file to the micro SD-card. First format your micro SD-card, for example, with SDFormatter. When the SD-card is entirely empty, you can install the MotionEyeOS file on the SD-card using Win32DiskImager. For Mac your need another imager software. When the MotionEyeOS file is installed on the SD-card, you can insert it in the Raspberry Pi and connect an ethernet cable from your network (for first use and make settings) and power supply. When it is booted up, it is ready to use.

Find your camera on the network:
You cannot connect to the raspberry camera directly. You need your local network to connect your device (mobile/tablet/PC) with the camera by its IP-address. To retrieve the IP-address of the camera, you can use your modem or software like Advances IP Scanner. When you know your IP-address, you can connect to your camera by typing the IP-address into any web browser. Once you access your camera, you’ll be prompt with a login form. The default is ‘admin’ and leave the password empty.

Set-up Your Raspberry Camera
When you found and logged-in into your camera, you can adjust its settings in the menu. First, you need to add the camera. Then you can set up the network information, connect your camera on the wifi network and change motion detection settings etc. Another useful feature is the time recordings are saved on the SD-card. You can, for example, store recordings only for 3 or 7 days. It is advisable to set this up; otherwise, your SD-card will be full in a certain time. On the internet are many examples which and how to set-up the camera, like this example (from step 13 onwards).

Build A Camera Network System
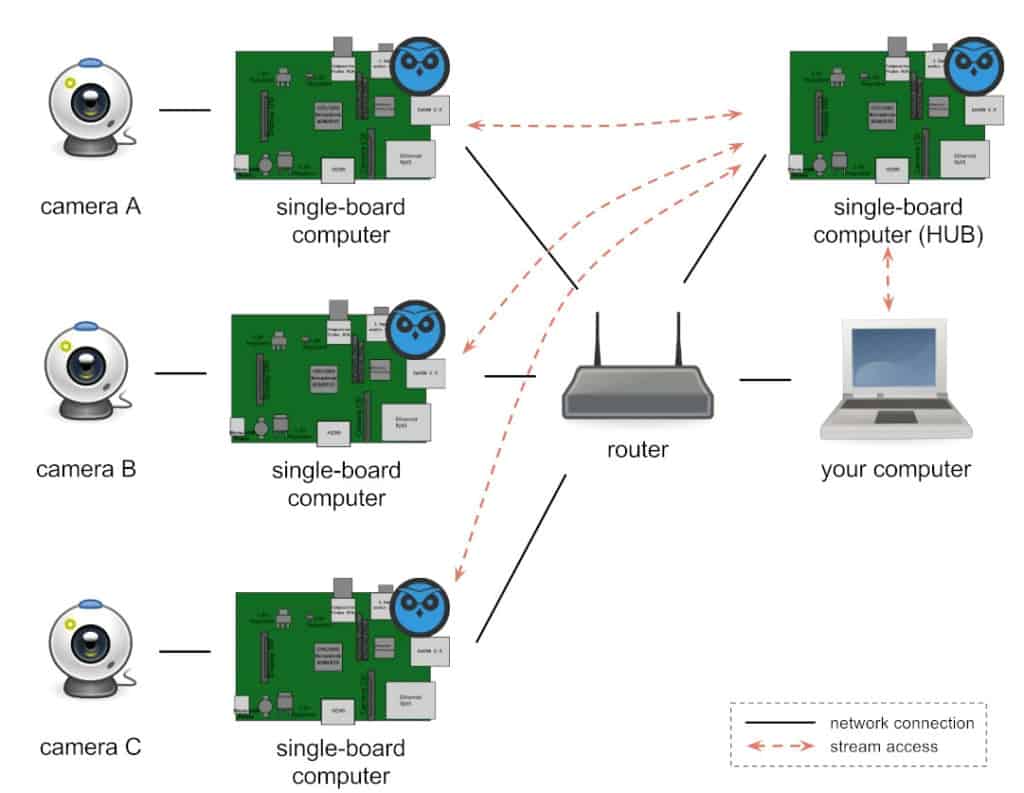
When you desire multiple cameras on your network, you have to repeat the steps before. Build every camera, connect them to the network and set them up. I advise you to connect them with ethernet cables because of better data sharing and faster download speed. When you have all the cameras in place, you can build one Raspberry Pi (without a camera) with MotionEyeOS and configure it as a hub for all other cameras. When you add a camera on this hub, it connects to the existing camera and streams its recordings over the network. When you do this for every camera, you only have to link them to this hub to see all cameras and its recordings. To make it even easier, you can connect a monitor to this hub, and it is a ready-to-use central surveillance of all the animals and exhibits you want to observe.
Things To Take Into Account
There are some things that you need to take into account when using this system. The first and most important I want to mention is that these camera devices are not waterproof. The cases available on the market are not made for the conditions that are sometimes into animal exhibits. For example, these camera cases are not made for outdoor purposes. There are some possibilities to make it more resilient to water by building these cameras in waterproof dummy camera cases or by building it into IP-66 Wall Mount Enclosures.
Another major thing to take into account is that when a camera device is only connected to a local network without internet, the date and time settings are not configured. So when it is recording the date and timestamps are not matching the real date and time. You can install an RTC-module (Realtime Clock with battery), but in my experience, it does not work that well, and it is challenging to install and get it working.
To Conclude
I use this camera system in many cases. For example, to see if animals come inside, or to monitor newly arrived animals. Other application can be to monitor enrichment efforts, observe sleep behaviour of animals, how (an) animal(s) react to a change in the exhibit, and the list goes on. It can be incredibly useful, and with this system, it is affordable too. However, when you need any help or have any queries do not hesitate to contact me.
Share this page!